pdum.rfb — Remote Frame Buffer
pdum.rfb (PyPI: habemus-papadum-rfb) streams a server-rendered framebuffer
to a browser over a WebSocket, with pointer/keyboard/resize events flowing back.
You render in Python and view and interact in the browser. The target is
scientific and interactive visualization across the whole cadence range — from
sparse, on-demand scenes (render only when state changes) to high-frame-rate
streaming (low-latency H.264/WebCodecs, GPU-rendered). You own the loop and the
cadence; the library never imposes a fixed game-engine tick. It is not a generic
VNC clone.
The project ships two halves:
- a Python server — the
pdum.rfbpackage (Python 3.12+, UV-managed); - a browser client —
@habemus-papadum/rfb-widgets, a TypeScript package whose decoding runs entirely in a Web Worker that owns the WebSocket, the decoder, and a transferredOffscreenCanvas, keeping your main thread free.
Try it
No checkout, no build — uv runs it straight from PyPI:
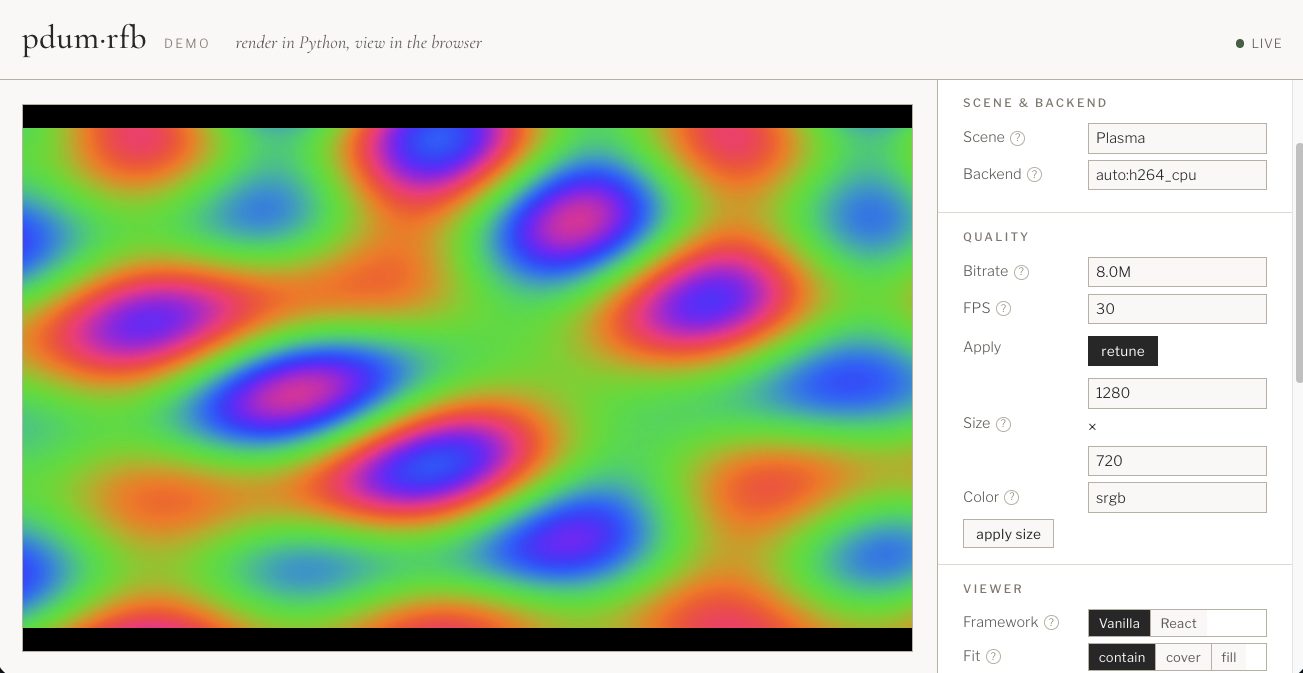
# interactive demo — opens a browser tab; pick a scene, encoder, and quality
uvx --python 3.14 --from 'habemus-papadum-rfb[demo]' pdum-rfb demo

# which encode paths light up on your machine?
uvx --python 3.14 --from 'habemus-papadum-rfb[doctor]' pdum-rfb doctor
One command works on macOS and Linux: the platform's hardware encoder (Apple
VideoToolbox or NVIDIA NVENC) installs automatically, and everything else falls back to the
CPU paths. --python 3.14 just pins the interpreter uv runs with — it downloads it if needed;
the package itself supports Python 3.12+ (see Installation).
Compared to jupyter_rfb
jupyter_rfb pioneered "render in Python, view in
the browser" for notebooks, and pdum.rfb speaks the same
renderview event vocabulary — so it drops in under
rendercanvas / pygfx / fastplotlib. Three differences shape it:
- Not tied to Jupyter. Frames travel over a plain WebSocket, not ipywidgets/kernel
comms. The same server drives a standalone web page, a desktop webview, or a fully
headless box — no notebook or kernel in the loop. The trade-off is reachability: the
browser needs a network path to that WebSocket. It's automatic when you launched the
environment (localhost, a VS Code / SSH tunnel, your own
jupyter lab), but a locked-down multi-tenant JupyterHub you only consume needs the framebuffer exposed same-origin — viajupyter-server-proxyor an ASGI mount (see the notebook guide).jupyter_rfb's kernel-comm path avoids this but is bounded by that channel. - Built for high frame rates. Beyond the per-frame image path (every frame a keyframe,
like
jupyter_rfb), a low-latency H.264/WebCodecs path adds per-client backpressure and a keyframe policy — made for continuous, interactive framerates, not just the occasional redraw. - Hardware encode on the GPU. When you render on CUDA, frames can go straight to
NVENC (CUDA NV12 → H.264) without a host round-trip — via PyAV's
h264_nvencor the PyAV-freepdum.nvencencoder. On Apple Silicon the sameserve(gpu=True)drives VideoToolbox from an MLX render, with the color conversion on the GPU. See CUDA→NVENC and Apple Metal / VideoToolbox.
Whether you push every 16 ms or once a minute is entirely up to your loop.
The mental model: push
The public API is push. You own your loop and publish frames into a shared
Display; the library fans each frame out to every connected viewer, and you drain
input from all viewers in one place.
your loop ── display.publish(ndarray) ─►  Display (latest frame, +version)
   ▲                                         │  one RfbSession + encoder per viewer,
   └── for ev in display.poll_events()       └─► fed the latest frame, negotiating
       (input from all viewers)                  image vs H.264 per client
import asyncio
import pdum.rfb as rfb

async def main():
    display = await rfb.serve(1280, 720, port=8765)   # WS server starts in the background
    state = initial_state()
    try:
        while running(state):
            for ev in display.poll_events():           # input from every viewer
                state = update(state, ev)              # ev.client_id, ev.principal, ev.event
            display.publish(render(state))             # sync, non-blocking, latest-wins, fans out
            await asyncio.sleep(1 / 30)                # or on-demand, or every 60s — you own the cadence
    finally:
        await display.aclose()

asyncio.run(main())
publish() is synchronous (it stores the latest frame, bumps a version, and wakes
each viewer's session) and must run on the event-loop thread. A viewer that falls
behind simply skips intermediate frames. The pull-based FrameSource model still
exists, but it is internal now (each connection's session pulls from a private
_ClientFeed).
The browser side is three lines — point a RemoteFramebufferView at that server:
import { RemoteFramebufferView } from "@habemus-papadum/rfb-widgets";
const view = new RemoteFramebufferView(document.getElementById("stage")!, {
  url: "ws://localhost:8765",
});
// later: view.dispose();
Two transports, one negotiation
A connecting browser advertises what it can decode; the server picks the best shared path per client.
- Image path — one independent image per frame (JPEG/PNG/WebP via Pillow); every frame is a keyframe. Ideal for stills, snapshots, and a lossless final frame. Dependency-light (numpy, pillow, websockets).
- H.264 path — CPU H.264 via PyAV/libx264 (the
[h264]extra), emitting Annex B access units for the browser's WebCodecsVideoDecoder. Configured for low latency (ultrafast/zerolatency, no B-frames, ~1 s IDR cadence, in-band SPS/PPS).import pdum.rfbworks without the extra — PyAV loads lazily.
For GPU-rendered scenes on Linux/NVIDIA there are three hardware NVENC paths,
fastest-installed first: the PyAV-free NVENC SDK wheel (habemus-papadum-nvenc),
the zero-copy CUDA→NVENC path (CuPy/DLPack → h264_nvenc, PyAV ≥ 18), and
host-memory NVENC (PyAV's bundled h264_nvenc). On macOS/Apple Silicon,
serve(gpu=True) instead drives Apple VideoToolbox from an MLX render (GPU
RGB→NV12). serve(gpu=True) picks the right backend for the platform. See
Installation, Performance, and the
CUDA→NVENC / Apple Metal guides.
Verified headlessly, end to end
Every layer is testable without a display or manual clicking:
- pytest — protocol round-trips (+ golden fixtures for JS), image-encoder validity (re-decoded with Pillow), session invariants (backpressure, keyframe-first, latest-frame-wins), negotiation, and H.264 Annex B decoded back with PyAV.
- Vitest — the TypeScript unpacker asserted byte-for-byte against the Python-generated fixtures; event scaling and backpressure logic in isolation.
- Playwright — boots the Python server (deterministic test pattern) + a prod demo build, decodes real frames, reads back canvas pixels, and injects real input it verifies the server received.
Where to go next
- Installation — image path, CPU H.264, the NVIDIA GPU routes, and Apple Silicon, with the platform matrix.
- Python Guide — producing/serving frames, events, auth, encoders, metrics, adaptive quality, testing helpers.
- JavaScript Guide —
RemoteFramebufferView, options, framework integration, CSP/worker packaging. - Internals — data flow, wire protocol, session loop, the H.264 path, the worker, and the module map.
- Repository & Development — repo layout, the uv + pnpm conventions, and the GitHub CI / release pipeline.
- Performance · Roadmap · API Reference.